Laura Mulvey’s 1975 essay Visual Pleasure and Narrative Cinema is a seminal work in feminist film theory, introducing the concept of the male gaze and its cultural implications.
1.1 Overview of Laura Mulvey and Her Influence on Film Theory
Laura Mulvey, a British feminist film theorist and filmmaker, has profoundly shaped contemporary film theory. Born in 1941, her work bridges academia and practice, making her a pivotal figure in feminist cinema. Her 1975 essay, Visual Pleasure and Narrative Cinema, introduced the concept of the “male gaze,” critiquing how classical Hollywood cinema objectifies women for male visual pleasure. This theory revolutionized film studies, challenging traditional narratives and sparking debates on gender representation. Mulvey’s ideas have influenced generations of scholars, inspiring feminist critiques of media and culture. Her interdisciplinary approach, blending psychoanalysis and feminism, has cemented her legacy as a groundbreaking thinker in film theory and beyond.
1.2 The Significance of “Visual Pleasure and Narrative Cinema” in Film Studies
Laura Mulvey’s essay Visual Pleasure and Narrative Cinema is a cornerstone of feminist film theory, offering a critical analysis of Hollywood cinema’s structure. Published in 1975, it introduced the concept of the “male gaze,” highlighting how films are designed to satisfy male visual pleasure by objectifying women. This groundbreaking work challenged traditional narrative structures and gender representations, sparking widespread academic debate. Its significance lies in its application of psychoanalytic theory to film analysis, providing a framework for understanding power dynamics in cinema. The essay remains essential reading in film studies, influencing feminist scholarship and inspiring new approaches to media critique. Its enduring relevance underscores its importance as a foundational text in the field.

Key Concepts and Arguments in the Essay
Laura Mulvey’s essay Visual Pleasure and Narrative Cinema explores the male gaze and the objectification of women in film, challenging traditional narrative structures and gender roles.
2.1 The Male Gaze and Its Role in Cinema
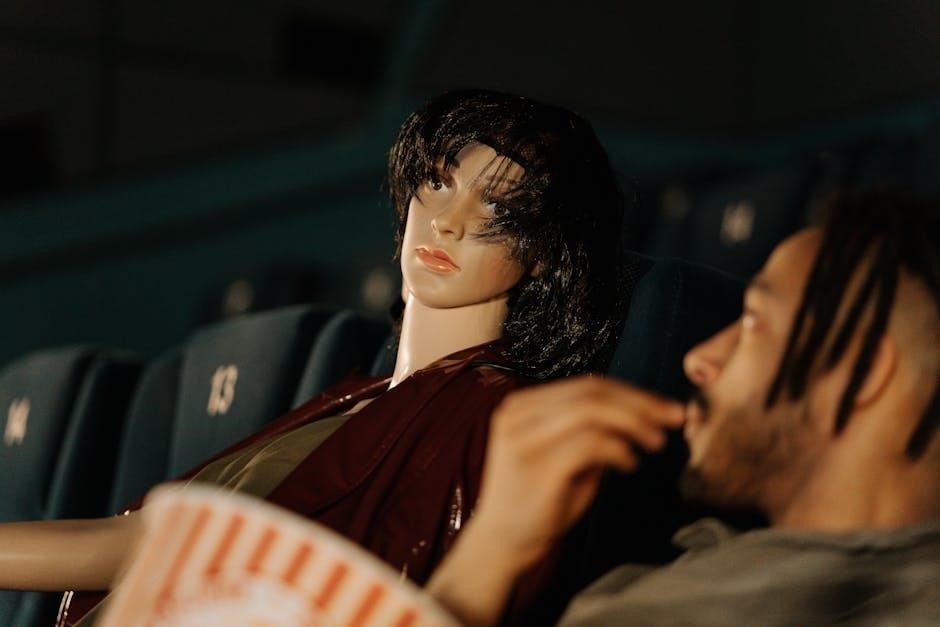
Laura Mulvey introduces the concept of the male gaze, arguing that cinema structures visual pleasure around male spectatorship, objectifying women as passive subjects for male desire. This gaze, rooted in patriarchal ideology, positions women as fetishized objects, reinforcing gender power dynamics. Mulvey contends that classical Hollywood cinema perpetuates this by framing female characters through the lens of male dominance, often marginalizing their agency. The male gaze is not only about visual pleasure but also about control, shaping how narratives are constructed and perceived. This concept challenges traditional film aesthetics, urging a reevaluation of gender representation in cinema. Mulvey’s theory remains influential in analyzing how visual narratives perpetuate gender inequality.
2.2 Visual Pleasure and the Objectification of Women in Film
Laura Mulvey argues that cinema derives visual pleasure from the objectification of women, framing them as passive subjects for the male spectator’s voyeuristic gratification. This dynamic, rooted in patriarchal structures, reduces women to fetishized objects, stripping them of agency. Mulvey contends that classical Hollywood cinema perpetuates this by positioning women as spectacle, often interrupting narrative progression to showcase their beauty for male pleasure. This process reinforces gender inequality, as women are commodified and subjected to the male gaze. The objectification of women in film not only satisfies patriarchal desires but also perpetuates societal norms that marginalize female roles beyond mere visual appeal. Mulvey’s critique challenges filmmakers to rethink representation and dismantle these oppressive visual practices.
Psychoanalytic Theory and Its Application
Laura Mulvey applies Freudian theory to analyze cinema, focusing on scopophilia and the Oedipus complex, revealing how cinematic structures satisfy unconscious desires and reinforce patriarchal norms.
3.1 The Use of Freudian Theory in Analyzing Cinema
Laura Mulvey employs Freudian psychoanalysis to explore how cinema satisfies unconscious desires, particularly through scopophilia and voyeuristic pleasure. She examines the Oedipus complex, suggesting films often align with patriarchal structures, reinforcing male dominance. Mulvey argues that cinema manipulates visual pleasure by objectifying women, turning them into fetishistic objects to satisfy male spectators’ desires. This psychoanalytic lens reveals how cinematic narratives are structured to appeal to a male gaze, perpetuating gender inequality. By applying Freudian theory, Mulvey critiques traditional Hollywood cinema for its role in reinforcing patriarchal ideologies, urging a reevaluation of how visual pleasure is constructed and consumed in film. Her analysis challenges filmmakers to consider alternative perspectives and break away from these entrenched narrative patterns.
3.2 The Relationship Between the Spectator and the Screen
Laura Mulvey’s theory emphasizes the dynamic between the spectator and the screen, arguing that classical Hollywood cinema structures films to appeal to a male viewer. The spectator is positioned as an active participant, deriving pleasure from the objectification of women on screen. This relationship reinforces gender roles, with women often depicted as passive objects of desire. Mulvey suggests that the male gaze dominates cinematic narratives, shaping how spectators engage with and interpret visual content. This power dynamic perpetuates patriarchal ideologies, influencing both male and female spectators. The essay challenges filmmakers to rethink this relationship, advocating for alternative cinematic practices that subvert traditional gender roles and offer more inclusive representations. Her analysis remains a cornerstone of feminist film theory, urging a critical examination of spectatorship and its cultural implications.
The Impact of Mulvey’s Theory on Feminist Film Studies
Laura Mulvey’s essay revolutionized feminist film studies by challenging patriarchal narratives and inspiring new ways to analyze gender representation in cinema, leaving a lasting legacy.
4.1 Challenges to Traditional Narrative Cinema
Laura Mulvey’s theory challenges traditional narrative cinema by critiquing its inherent patriarchal structures. Her concept of the male gaze exposes how films are designed to satisfy male visual pleasure, often objectifying women. This critique has inspired feminist filmmakers to create alternative narratives that subvert these conventions. By applying psychoanalytic theory, Mulvey reveals how classical Hollywood cinema reinforces gender inequality, urging a reevaluation of storytelling and spectatorship. Her work has been instrumental in shifting the focus of film studies toward more inclusive and equitable representations, fostering a new wave of feminist cinema that challenges the dominance of patriarchal narratives. This shift has encouraged filmmakers to explore diverse perspectives, breaking away from the constraints of traditional narrative structures.
4.2 The Legacy of “Visual Pleasure and Narrative Cinema” in Modern Scholarship

Laura Mulvey’s essay remains a cornerstone in modern film studies, influencing feminist theory and cultural analysis. Its exploration of the male gaze and visual pleasure continues to inspire scholars, offering a framework for examining power dynamics in media. The essay’s psychoanalytic approach has been adapted to study diverse forms of representation, from contemporary cinema to digital media. Mulvey’s ideas are frequently cited and expanded upon, ensuring her work’s relevance in current academic debates; The availability of the Visual Pleasure and Narrative Cinema PDF has further cemented its impact, making it accessible to new generations of researchers. This enduring legacy underscores the essay’s significance as a foundational text in understanding the intersection of gender, power, and visual culture.
Laura Mulvey’s essay remains influential, offering insights into cinema’s gendered dynamics. For deeper analysis, accessing the Visual Pleasure and Narrative Cinema PDF is essential, providing the full text for scholarly exploration and reflection on its enduring relevance in contemporary film theory and feminist studies.
5.1 The Enduring Relevance of Mulvey’s Ideas
Laura Mulvey’s theories remain foundational in feminist film studies, continuing to inspire critical debates about gender, representation, and spectatorship in cinema.
Her concept of the male gaze has become a cornerstone for analyzing power dynamics in visual media, influencing both academic scholarship and contemporary filmmaking practices.
The essay’s psychoanalytic framework offers timeless insights into how cinema structures desire and pleasure, making it a vital resource for understanding film’s cultural and ideological functions;
Mulvey’s work challenges traditional narrative structures, advocating for alternative cinematic practices that subvert patriarchal norms, ensuring her ideas remain relevant in modern discourse.
Her legacy is evident in ongoing discussions about gender representation, making Visual Pleasure and Narrative Cinema a enduringly essential text for film theorists and scholars.
5.2 Accessing the Full Text: “Visual Pleasure and Narrative Cinema” PDF
Laura Mulvey’s essay Visual Pleasure and Narrative Cinema is widely available online as a PDF, enabling easy access for scholars and readers worldwide.
Originally published in Screen in 1975, the essay can be downloaded from various academic platforms, including Oxford Journals and university libraries like the University of Pennsylvania.
Users can also find the PDF on websites such as Scribd and monoskop.org, which offer free access to the full text for educational purposes.
Additionally, the essay is included in anthologies like Film Theory and Criticism: Introductory Readings, making it accessible through academic databases and libraries.
Readers can simply search for “Laura Mulvey Visual Pleasure and Narrative Cinema PDF” to find reliable sources and download the essay for further reading and analysis.